Stencil Your Creativity!
- Aug 30, 2017
- 3 min read
Creativity is a beautiful thing! It can be used to put together a cute outfit, write a beautiful song, paint a pretty picture or hem a pair of pants! Creativity is the mother of invention.
I really enjoy a fun crafts or art project and recently I've been preparing for a close friend's baby shower that will be held outdoors in a wooded park. So, I decided to incorporate a very "woodsy" bohemian theme with little creatures and all the beautiful aspects of nature in the Fall.
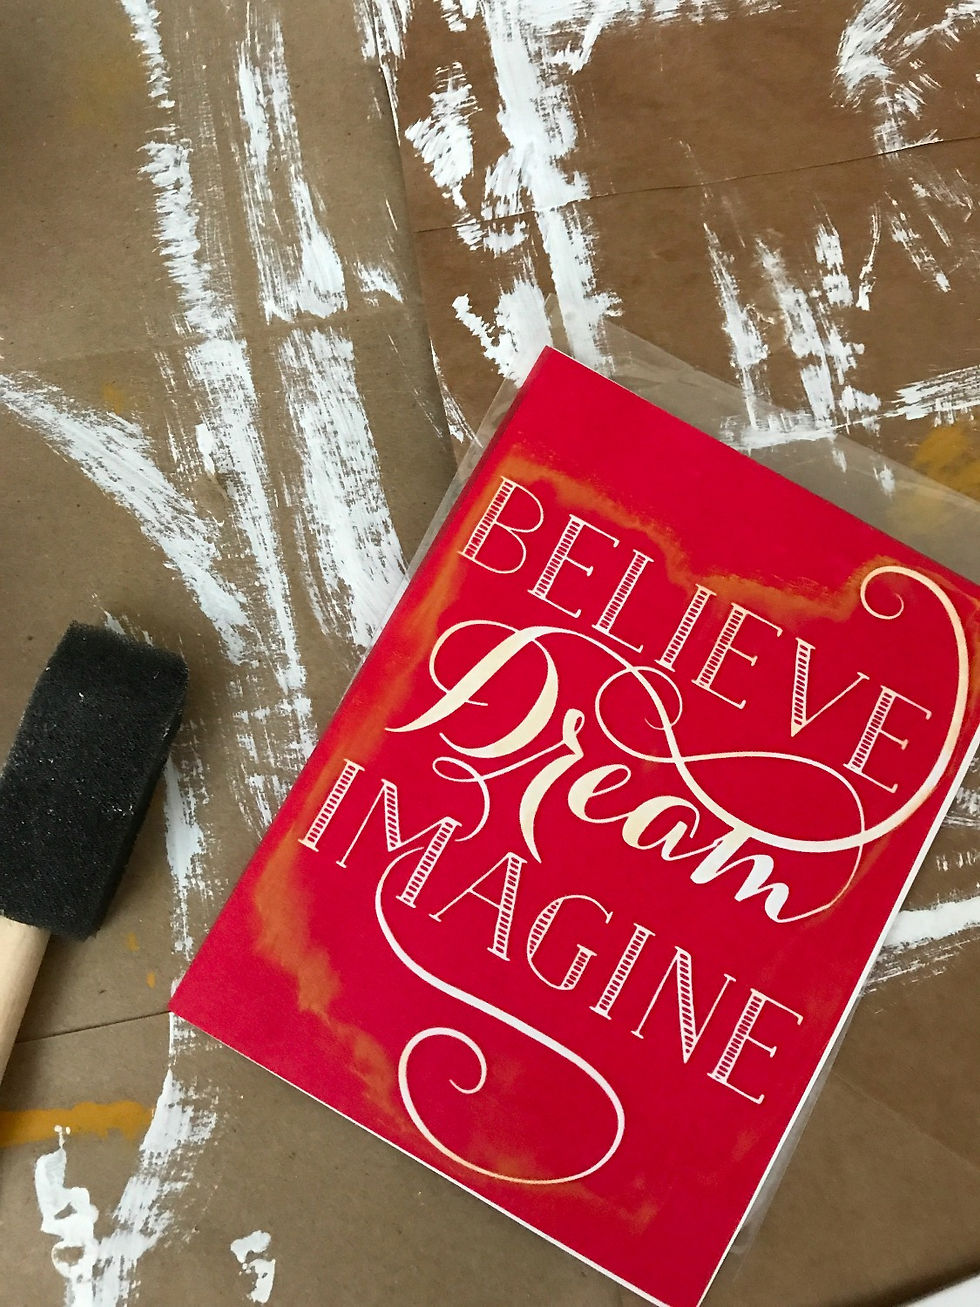
I went to Hobby Lobby and found some really cute stencils that had little animals and Fall leaves! Here's a picture of a few things (guest book and game boards) I began stenciling and as you can see, it's addicting! I chose gold paint on a white surface to go with the main color scheme of the baby shower. You can any colors when stenciling, but make sure it is visible against the base color of the item you're putting the stencil on.

Here are the EASY STEPS to stenciling:
1. Cover Your Table & Yourself
This may sound like a no-brainer, but sometimes we get so excited about our art project that we forget to do our prep work so that other pieces of furniture and our clothes don't become part of our art project! haha! So, before I began opening my paint or stencils I cut several paper bags till they laid flat and taped them together and taped them to the table so they wouldn't move or cause me to mess up my painting.
I also changed into old clothes that would be okay if they had paint splatter on them. Oh, and make sure to put your hair in a ponytail if you have long hair or wear a headband so you don't get hair in your paint.
2. Read Directions
Read the directions on the back of the stencil packaging. Most stencils can be used many times if they are cleaned and stored properly after they've been used. So, before I opened the paint can I made sure to read the directions on how to use the stencil and how to clean it and put it back on the adhesive packaging paper so I could use it again.


3. Paint & Peel
Peel the stencil you want to use off of the adhesive backing and carefully place it on the object you want to stencil. Press it down firmly so it doesn't move. Then, open your paint, pour a small amount of paint onto a pie tin or foam plate you can throw away. Use a small sponge brush to carefully sponge the stencil. Only put a small amount of paint on the tip of the sponge brush because too much paint can make small bubbles in the stencil and this doesn't come out very well.
Once you're done painting with the sponge brush and have filled every nook of the stencil, peel the stencil off carefully from one of the corners. Slow and steady is key.
Then, let the stenciled object sit for several hours to make sure it is completely dry before touching it or taking it off of the paper bags.


4. Show It Off!
Lastly, show off your artwork! You should be proud of the creative, fun things you make and use it as a conversation starter for your next party, baby shower or girls' night!
Comment below with any questions and share your own pictures of stencil projects you've created! We would love to see your artwork!
Keep Creating!


Comments